This is based on a Miles McBain post published on 2019-06-29.
Slippy map tile providers (like Mapbox) can serve tiles that represent Digital Elevation Model (DEM) data, rather than map imagery. This data can be used to make 3D maps with rayshader or quadmesh.
Mapbox API
First, create a Mapbox account and generate an API access token (a ‘public’ token is also provided but not recommended for real-world applications). Add the API token to your .Renviron file (in your root directory) as:
MAPBOX_API_KEY=<YOUR_API_TOKEN>
Fetching Elevation Data
Mapbox has an API for DEM tiles called Mapbox Terrain-RGB that we will use in this example.
Fetch the RGB tiles for your bounding box
Let's figure out how many tiles we need.
library(slippymath)

tibrogargan<- c(xmin = 152.938485, ymin = -26.93345, xmax = 152.956467, ymax = -26.921463)
slippymath::bbox_tile_query(tibrogargan)

#>     x_min  y_min  x_max  y_max y_dim x_dim total_tiles zoom
#> 1       3      2      3      2     1     1           1    2
#> 2       7      4      7      4     1     1           1    3
#> 3      14      9     14      9     1     1           1    4
#> 4      29     18     29     18     1     1           1    5
#> 5      59     36     59     36     1     1           1    6
#> 6     118     73    118     73     1     1           1    7
#> 7     236    147    236    147     1     1           1    8
#> 8     473    295    473    295     1     1           1    9
#> 9     947    591    947    591     1     1           1   10
#> 10   1894   1183   1894   1183     1     1           1   11
#> 11   3788   2366   3788   2366     1     1           1   12
#> 12   7576   4732   7576   4732     1     1           1   13
#> 13  15152   9464  15153   9465     2     2           4   14
#> 14  30304  18929  30306  18931     3     3           9   15
#> 15  60609  37859  60612  37862     4     4          16   16
#> 16 121219  75719 121225  75724     6     7          42   17
#> 17 242438 151439 242451 151449    11    14         154   18
Since it’s a small area, 9 tiles at zoom 15 will do. Let’s get the tile grid.
tibrogargan_grid <- bbox_to_tile_grid(tibrogargan, zoom = 15)
Now we’ll fetch the tiles from Mapbox.
library(glue)
library(purrr)
library(curl)

mapbox_query_string <-
paste0("https://api.mapbox.com/v4/mapbox.terrain-rgb/{zoom}/{x}/{y}.jpg90",
       "?access_token=",
       Sys.getenv("MAPBOX_API_KEY"))

tibro_tiles <-
pmap(.l = tibrogargan_grid$tiles,
     zoom = tibrogargan_grid$zoom,

     .f = function(x, y, zoom){
       outfile <- glue("{x}_{y}.jpg")
       curl_download(url = glue(mapbox_query_string),
            destfile = outfile)
       outfile
     }
     )
Stitch Tiles into a Raster
We composite the images to raster with compose_tile_grid and view the raster:
tibrogargan_raster <- slippymath::compose_tile_grid(tibrogargan_grid, tibro_tiles)
raster::plot(tibrogargan_raster)
We see this mix of layers including a psychedelic blue-green RGB landscape because in terrain-rgb tiles, the RGB values provide additional precision to the elevation information. We’ll decode this in the next section.
Converting RGB tiles to DEM tiles
Mapbox provides a formula to decode the RGB values to elevation. This is implemented in the function below:
decode_elevation <- function(dat) {
  height <-  -10000 + ((dat[[1]] * 256 * 256 + dat[[2]] * 256 + dat[[3]]) * 0.1)
  raster::projection(height) <- "+proj=merc +a=6378137 +b=6378137"
  height
}
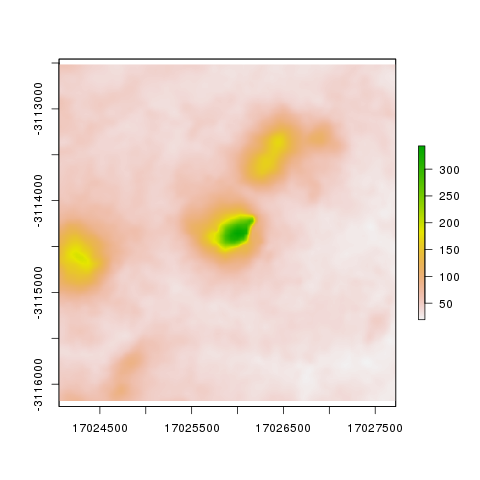
When we apply it to tibrogargan_raster we get:
tibrogargan_elevation <- decode_elevation(tibrogargan_raster)
raster::plot(tibrogargan_elevation)
Rendering DEM Image
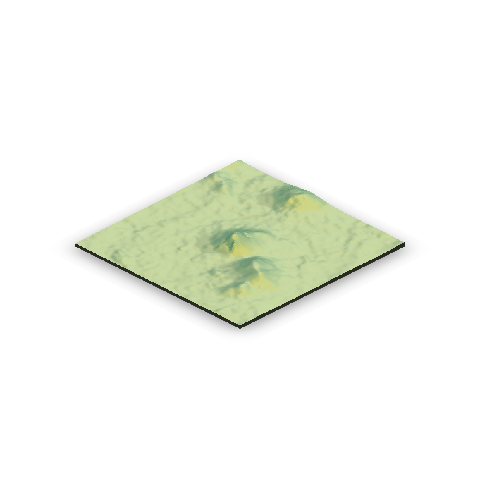
Rayshader
library(magrittr)
library(rayshader)

elevation_mat <- t(raster::as.matrix(tibrogargan_elevation))

shadow_mat <- ray_shade(elevation_mat)

elevation_mat %>%
  sphere_shade(progbar = FALSE, sunangle = 45) %>%
  add_shadow(shadow_mat) %>%
  plot_3d(elevation_mat,
          zscale = 7,
          phi = 30,
          theta = 135)
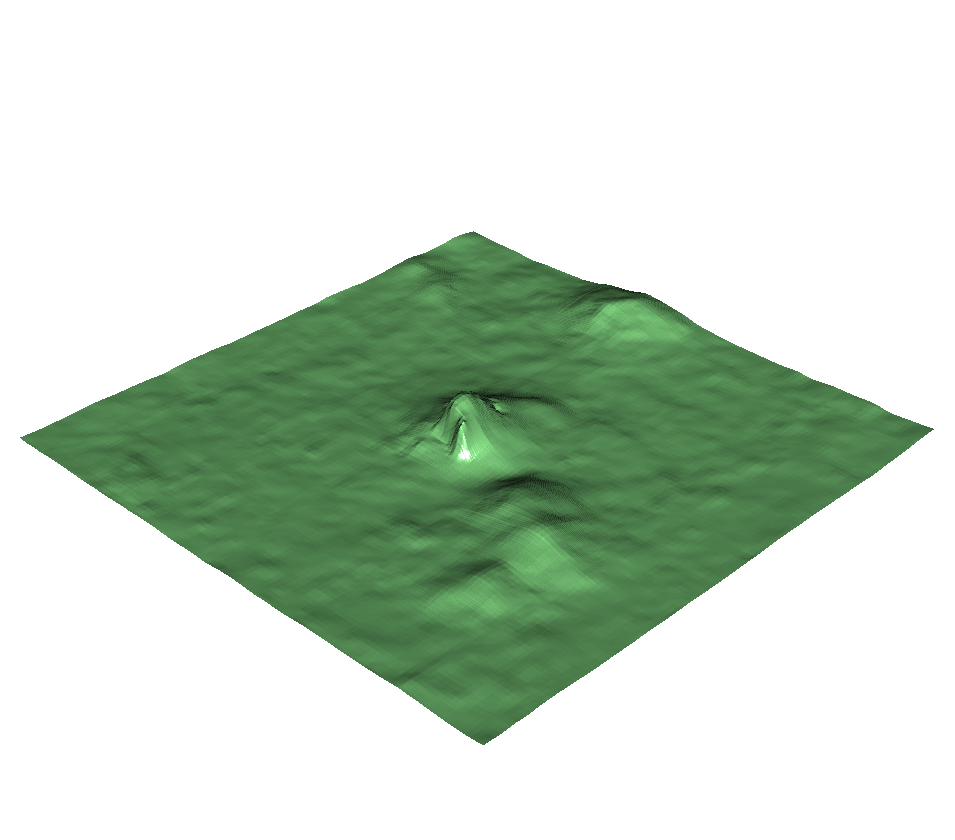
Quadmesh
library(quadmesh)

elevation_mesh <- quadmesh(tibrogargan_elevation)
rgl::shade3d(elevation_mesh, col = "light green")